Saturday, April 13, 2013

Coil Pots...2nd Grade

This is the big clay project for 2nd grade this year...as stated in the MNPS Visual Arts Curriculum...ooh la la.

Anyway, I tried teaching this with two different approaches. With my pilot class, I tried getting them to make the whole thing in one class period...after set-up, demos, problem-solving...demos again...we really ran out of time. Some kids got it and theirs look great...but I wanted more success as a whole. So, I tried teaching them this in chunks. Day One we made coils, created the spiral base and that's it...and it took an hour!

So, I put their 'bases' in a ziploc bag and we'll build the coil walls next class.

Below is the pilot classes coil pots from one class period. We have a good variety of sizes...and we went ahead and glazed them while they were greenware.


I did find that rolling the clay into a "carrot" shape between your hands first starts a great coil. Before, I had them roll the clay into a ball, then roll into a coil and that just didn't make sense after a few tries. 


Dipping in Crystal Clear Glaze: 

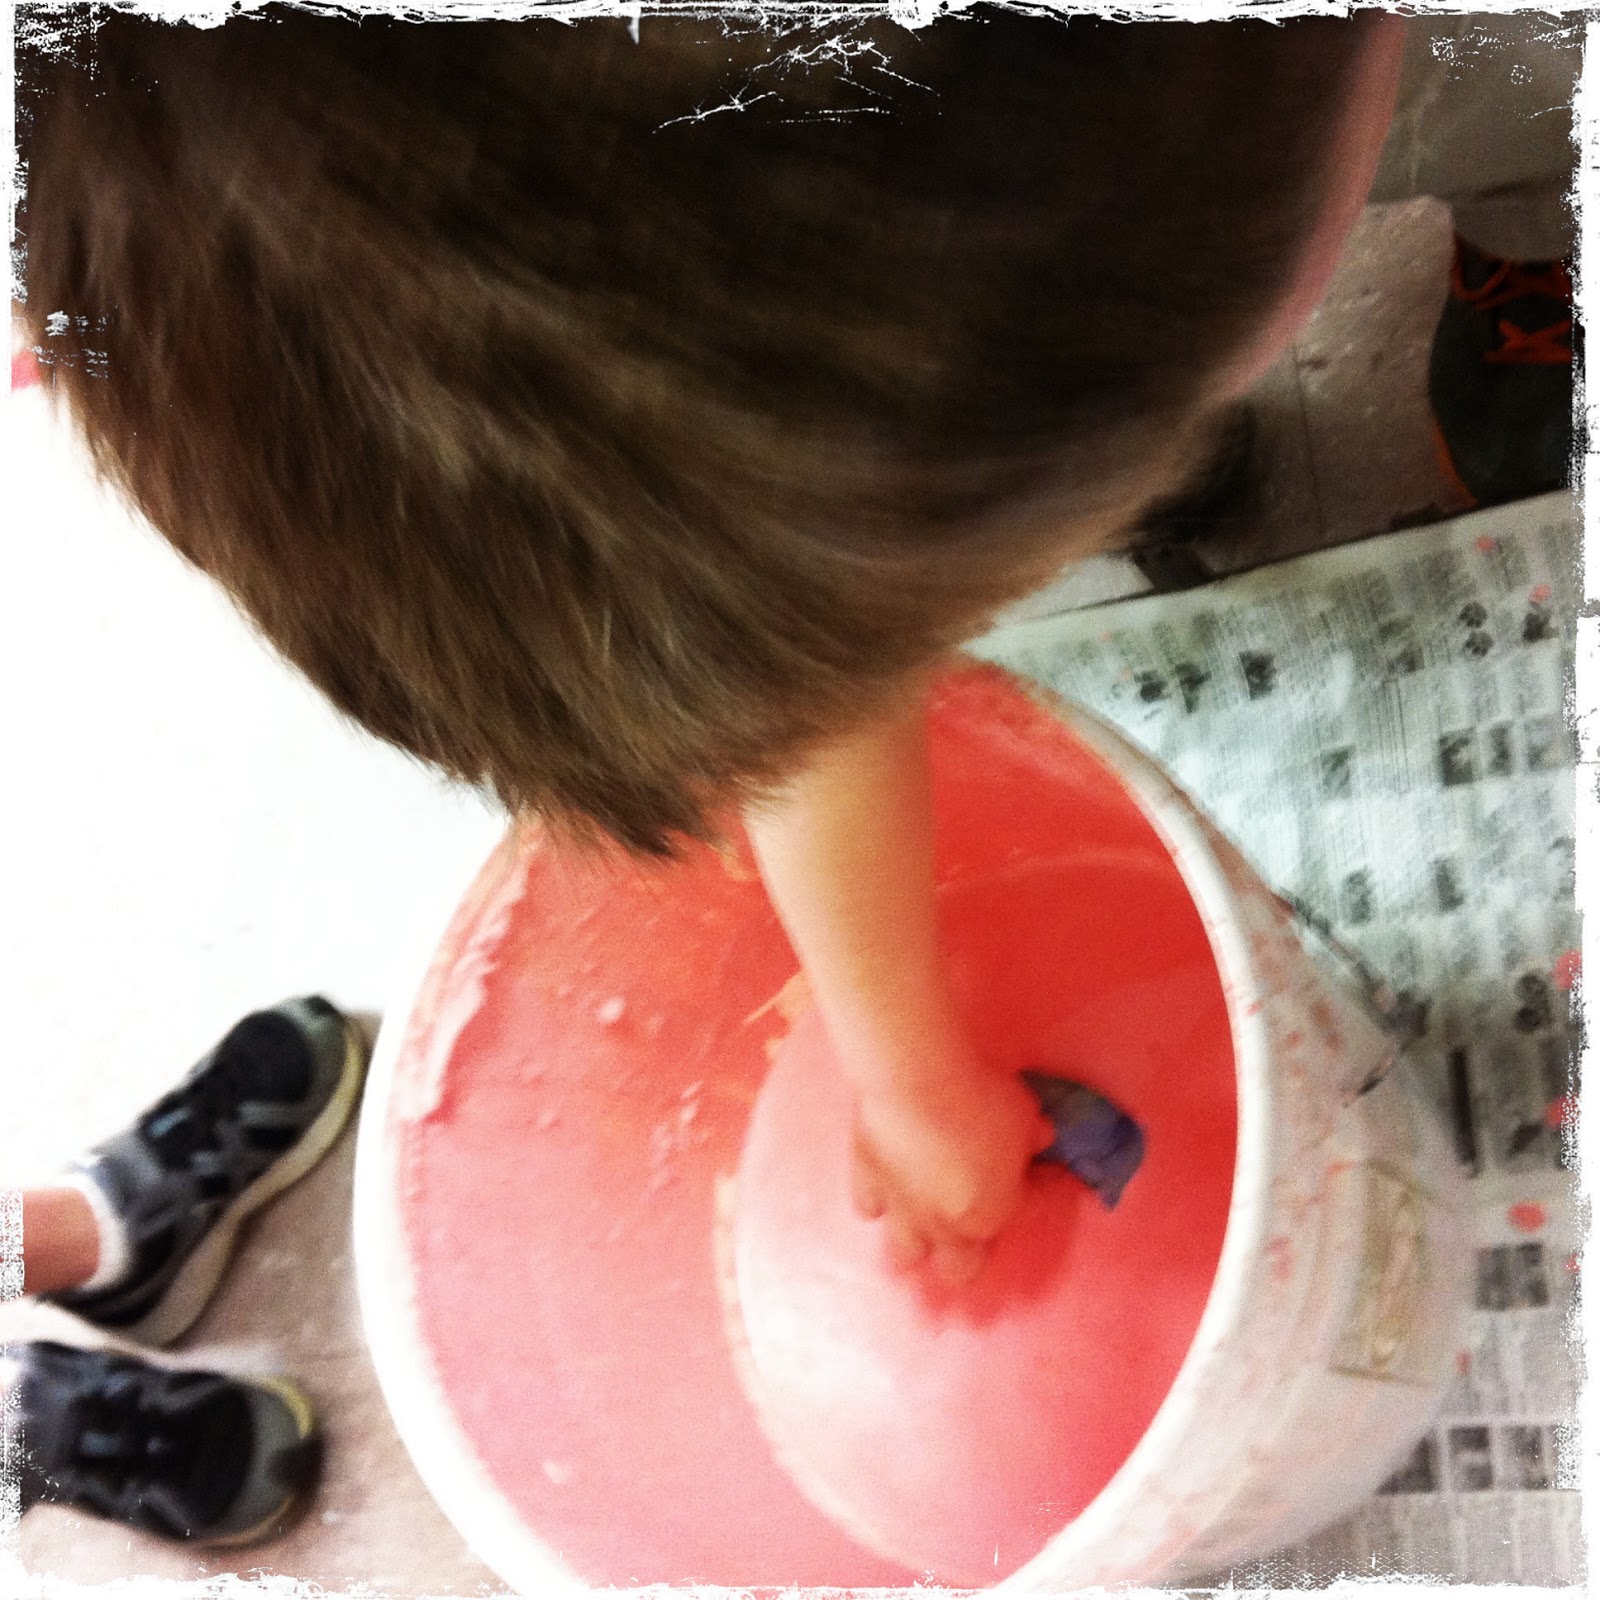
So, I pulled this huge bucket out today of crystal clear glaze....I usually dip the clay for the kids, but they were curious about it so I just let them get in there and dip their own! Great idea for me, cause it saves me a lot of time...and it's fun for them. Win-win. 


Here's some coil pots from the last class I taught this project to. Of course, they got the best lesson since I had 'mastered' it by then. 


Glazed Pots!


Wednesday, April 10, 2013

Painted Picasso Heads by 1st Grade


This was a two day project and I've always loved it. I found out letting them draw with q-tips was a good technique to balance out the 'printed' objects.  

Day One: Print a Picasso Head with found objects in black tempera paint. 


Here you're seeing Day Two --Painting the head/face/hair with warm colors and the background with cool colors. 


If a student was absent on the first day, they caught up by drawing their Picasso head with oil pastel...and this would be an easy alternative to stamping the objects. 

Saturday, April 6, 2013

Kinder'garden' Mural

My cooperating teacher taught me how to do this project with Kindergarten when I started student teaching. It's super cute, but also really does teach some good skills and the results spruce up the hallways for Spring! Yay! It's become an annual Kinder project.

Teacher Prep for Garden: Cut a large piece of blue (we were out so I had to use white) butcher paper for background....cut green 9x18 paper into 4 inch chunks and 'fray' the edges to create grass. Cut two large clouds and write class name in the cloud.

Teacher Prep for Flowers: Cut strips of green paper for stems, chunks of paper for petals and leaves. Then smaller squares for centers.

This year I decided to organize my color scheme by giving them 5 colors to choose from for petals and only two colors for centers to keep life easier.

We read the book "Planting a Rainbow" by Lois Ehlert.

 
We start by cutting out the center..I let them use a small dixie cup to trace a circle.

Then we do an art magic trick by folding a piece of paper in half, drawing 3-4 petals and cutting them out to get double the petals! Tada!
 
(math integration...counting by two's)

Glue center to stem...glue petals to center...then use the same magic trick to make leaves.


Then we put dots of glue on the back and "plant" the flowers in the garden. Super fun and only takes one class period.
After they plant one flower, they can make one more to take home or plant again....OR they can make bugs for the garden...which always turn out really cute.


Here you can see the prepped garden...

Kandinsky Concentric Circles


 I have been doing this lovely project with 3rd grade since I've been teaching. I love these paintings. And the objectives keep changing too, so that's fun for me so I don't get bored with this..but how could I? ....haha....anyways...

Day One: Kandinsky Intro -- Compare/Contrast his paintings and write about him in Idea Books. Talk about ABSTRACT ART ....non-objective art more specifically.

I pre-cut white drawing paper to 12" x 12" ...I like this square setting for their compositions.
Trace at least 5 circles (we used cups) ....circles can overlap, hang off the page....whatever, have fun with it. (But no mickey mouse heads....purely non-objective.)

Paint background showing value changes.
I used cool colors only this year so they could pick blue, green, purple (or black!)
I let them choose either white or black to mix with their cool color to create either a tint or a shade.
This created some fun lingo in the art room..."I want blue with a shade....or I'll take purple with a tint." 


I did let one class (my well-behaved class...) do two different colors and they look really great...


Day Two: Draw rings of concentric circles inside big circles. Paint each ring a different (contrasting) color. I set out palettes of warms colors to create extra contrast with their cool color backgrounds. I am loving the results!