Day One: We review shapes and lines. First we draw our crown. I made these crown templates for the kids who want to use them...but they can take the art challenge and draw themselves if they choose.


Next we walk through the steps of drawing a face one at a time at the demo. I draw on my paper, they watch and then go echo on their paper. It keeps everything in order!

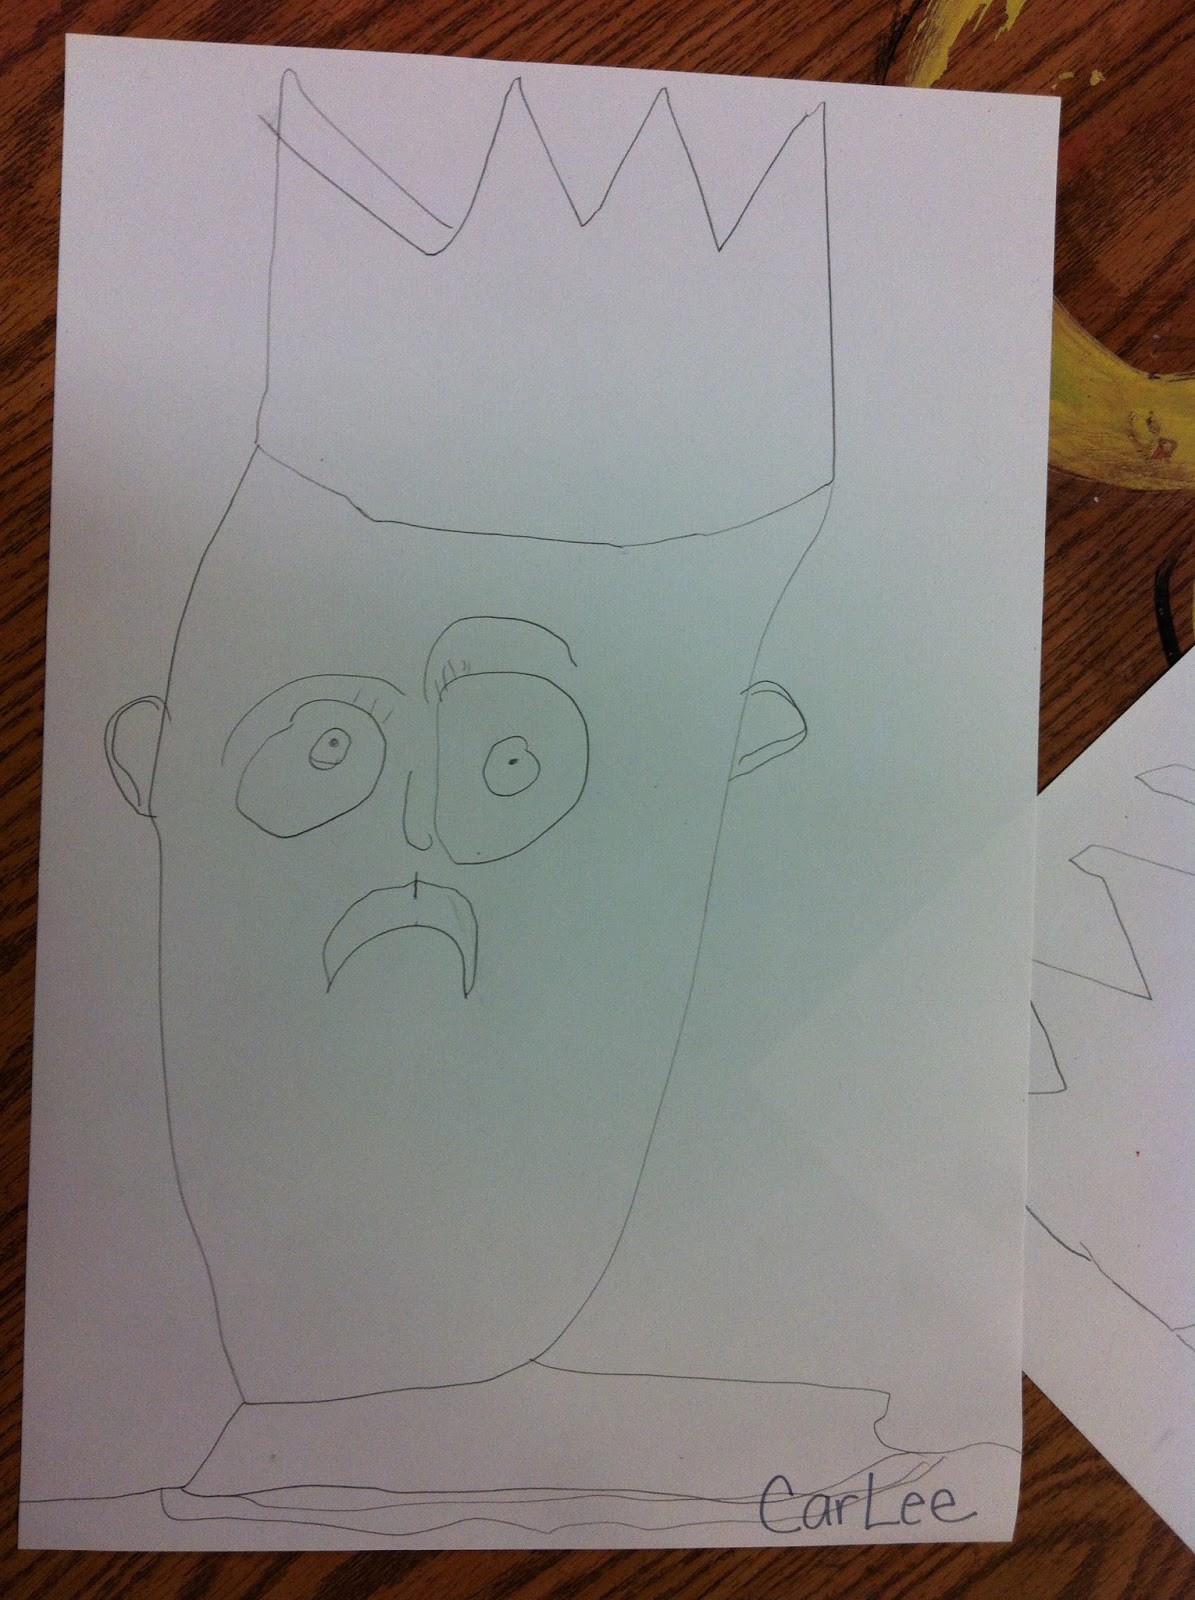


The look pretty great! Next they outline with black oil pastel and then the next art class we paint with tempera cakes.
Day Two: Painting our Royal Faces

I briefly discuss skin tones...we dive into skin tones in 1st grade..so this is a just a pre-cursor to that conversation.


We are using tempera cakes...which are so messy!! But it's the easiest thing to use for all the color choices they need.

Here is the "GLITTER STATION"...am I crazy? Yes.
I instruct them to draw some lines with glue on the crown only. Several kids must not have heard me saying a thousand times, CROWN ONLY....because the second I turn around there's glue everywhere! But hey, it's kindergarten....so ya know.

After they draw their glue lines, I sprinkle on loads of glitter and shake it off onto that black piece of paper that has been folded to create a crease. That crease is important! After you shake it off, you can just funnel the glitter back into the container...

***Thanks to Patty @ deepspacesparkle for this lesson. This is my second year using this fun lesson. Here's the link: http://www.deepspacesparkle.com/2011/11/16/royal-kinder-portraits/