Sunday, September 21, 2014

Roberto the Insect Architect


I teach this lesson every 1st 9 weeks to 1st grade. It's a great vocab builder and reminds them how to use watercolors and sharpies. This is a 2-day lesson and is really easy to teach and fun to do!


DAY ONE: Read the story by Nina Laden "Roberto the Insect Architect"


This is an amazing story is about a termite who wants to design and build houses instead of eating them.

Art Word of the Day: ARCHITECT
We draw in our idea books and choose a bug we want to design a house for. 
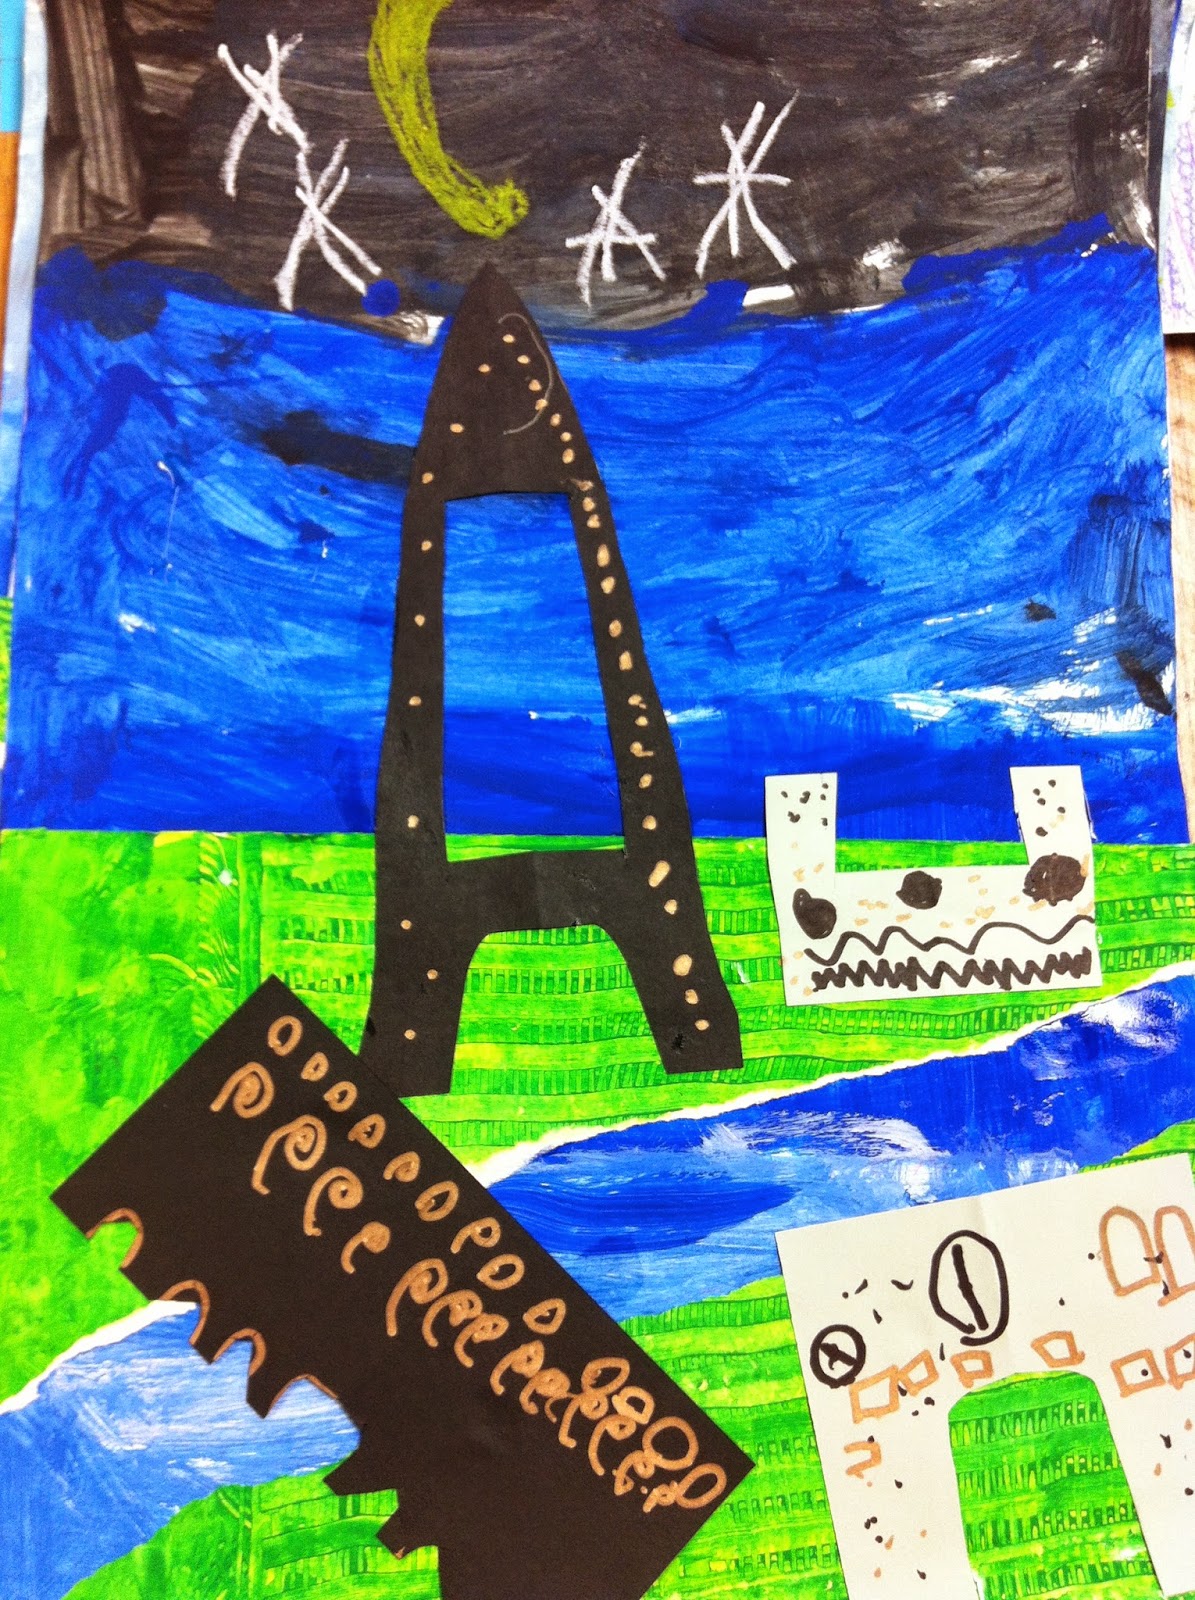
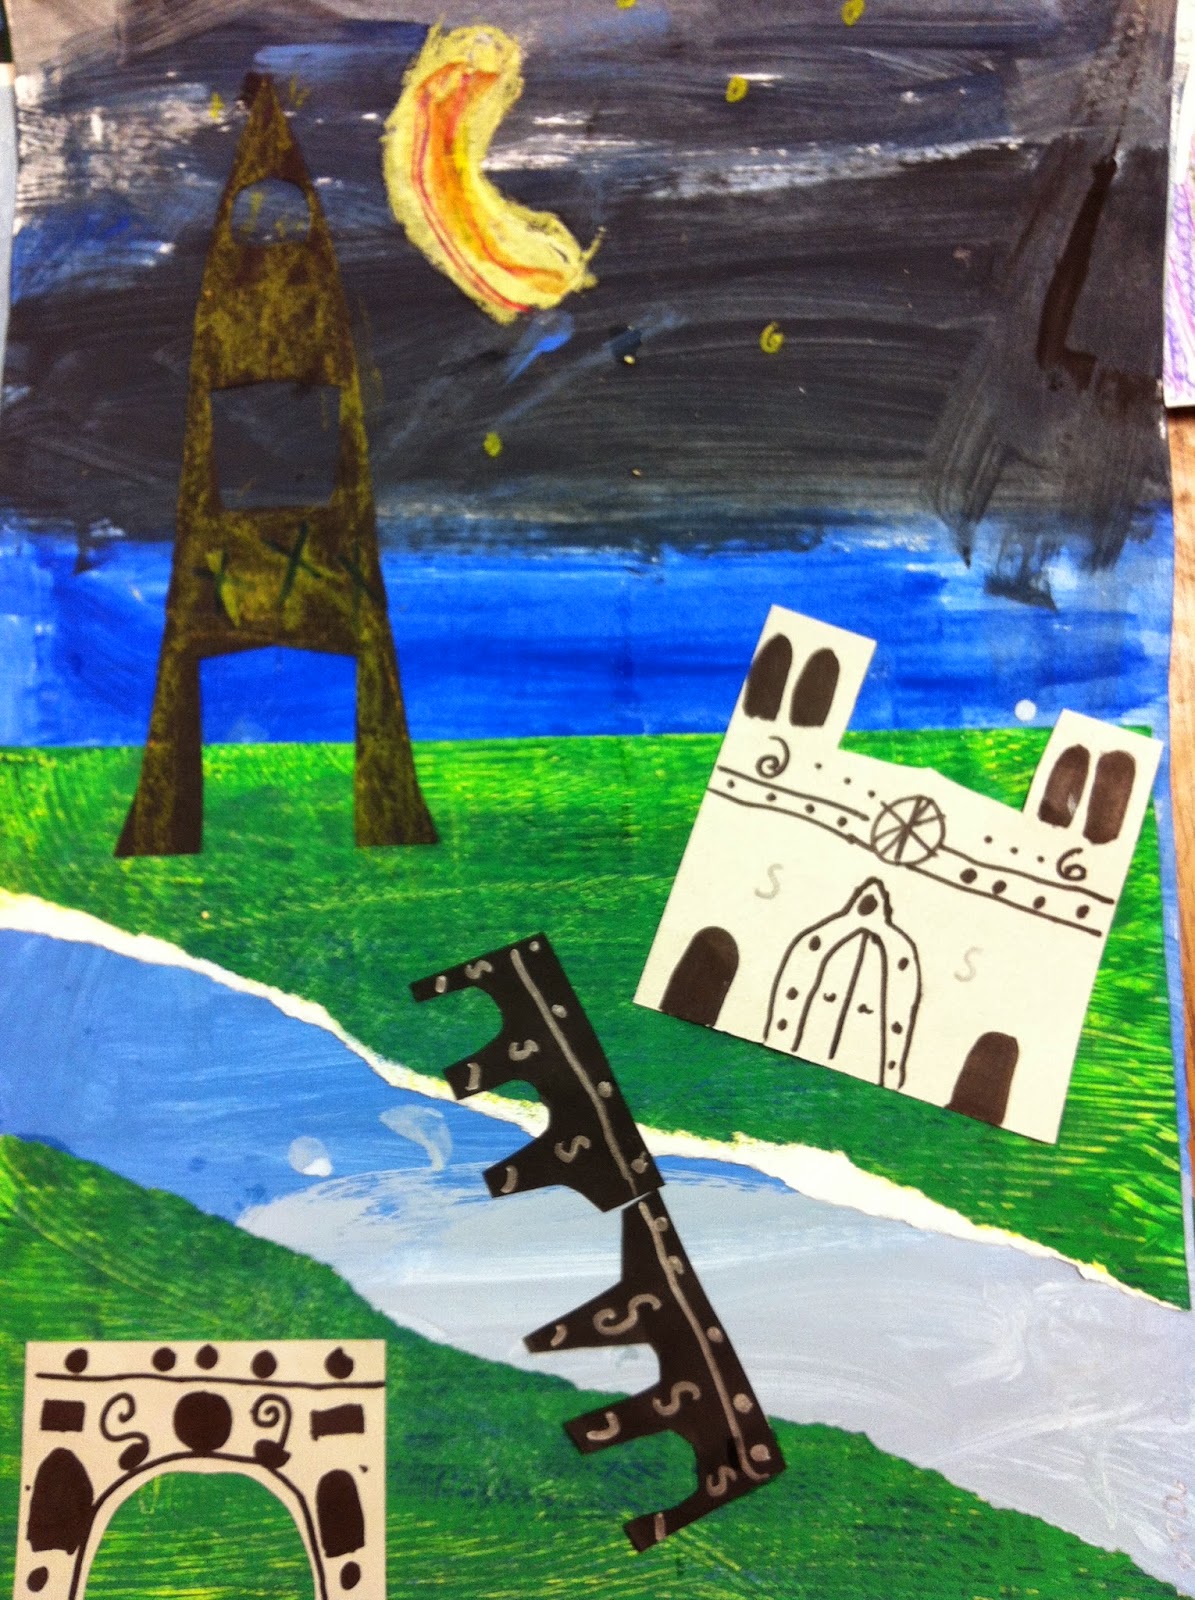
They draw their favorite bug house design on 12"x12" white paper. 
I demo this process at the demo table.

DAY TWO: BLUEPRINTS

We outline our drawing in blue/purple/teal Sharpie marker. Then we paint with cool colors...mainly using blues to create a "blueprint". 


RESOURCES: I like to print pages of bug outlines for the kids to use. They can visualize drawing the house a little easier with these images to look at. 


Goal Wall: Can you draw a still-life?


I started my Goal Wall this year with "Can you draw a still-life?" I had a basket of objects I didn't mind the kids using and they could attempt the goal wall once finished with their work. The kids really love trying to 'get on the wall'. It's been a great new addition to the art room! And I am in compliance with having a "Data Wall". 


Parisian Landscape (Project Idea from Cassie Stephens)

Check out her amazing blog for the step-by step in great detail. http://cassiestephens.blogspot.com/2012/11/in-art-room-collaged-paris.html

I basically copied everything she did...cause it's awesome. 


Here's my kid's version of a Parisian Landscape. This project is loaded with awesome vocab, geography, language skills, reading/literacy, painting skills, collage skills....I can go on and on. 


DAY ONE: 
VALUE CHANGE BACKGROUNDS


MIXING TINTS AND SHADES


Sneak Preview to Last Day....using special sharpies!

Yes, I battled some nice lady in the Kroger clearance rack for these super cheap Metallic Sharpie markers. OOOH yeah. 

We used these on the last day to add details to our buildings!


DAY TWO: 
SECONDARY COLOR MIXING....and TEXTURE COMBS!


THESE THINGS ARE AWESOME! 

To get better results...I had the kids mix their green and paint it on their paper...then I came around and drizzled some pre-made green so their paint would be extra thick for the dragging the texture comb through. If the paint isn't thick enough, the texture comb just rips the paper. 


DAY THREE:

Tearing the grass diagonally and gluing it to the background with a space in between to create the Seine River. 


Added some background detail with oil pastels....they decide day or night.


DAY FOUR:
Creating 4 Parisian Landmarks: 
The Eiffel Tower, L'Arc de Triomphe, Notre Dame Cathedral and Pont-Neuf


DAY FIVE....adding more buildings...We learned how to fold our paper in half, then cut a shape so that our architecture would be symmetrical. And lastly, we decorated with Metallic Sharpies!

These are definitely going in the ART SHOW!