Sunday, April 21, 2013

Peacock Paintings

I did this project last year with my 2nd graders and I loved it. So here we are again. This is day one of the project...discussing Indian Peacocks, Penhens and Peafowls. We practice drawing a peacock in our Idea Books and then we draw the body and first set of feathers on blue 9x18 paper. We painted the peacock and the metallic feathers. Next class we will make the "eyes of the gods"/concentric circles and we'll paint the base color for our feather on the blue paper. 

This project is inpsired by Patty at DeepSpaceSparkle.com and here's the link to her project for 1st grade: 


Here's some great links for Peacock Info...and a video to show. 


Here's a great video that kids really enjoyed: 

Here's a great photo for the first day...
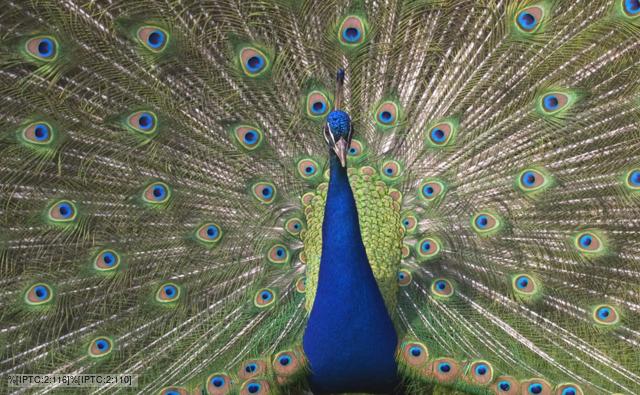
A male peafowl (a peacock) displaying his tail feathers


Day Two : Painting the eyes of the gods and some background feathers. 


Adding the eyes of the gods....here's a class that has run out of time for this project so on their Day Two I had them draw the eyes of the gods on their paper and paint directly on the blue. The other classes collaged their eyes of the gods from other paper. Both ways work, the collage looks best! 


TCAP Pep Rally Poster

Oh the joys of being an art teacher...getting to make 50 foot signs!


Saturday, April 13, 2013

Coil Pots...2nd Grade

This is the big clay project for 2nd grade this year...as stated in the MNPS Visual Arts Curriculum...ooh la la.

Anyway, I tried teaching this with two different approaches. With my pilot class, I tried getting them to make the whole thing in one class period...after set-up, demos, problem-solving...demos again...we really ran out of time. Some kids got it and theirs look great...but I wanted more success as a whole. So, I tried teaching them this in chunks. Day One we made coils, created the spiral base and that's it...and it took an hour!

So, I put their 'bases' in a ziploc bag and we'll build the coil walls next class.

Below is the pilot classes coil pots from one class period. We have a good variety of sizes...and we went ahead and glazed them while they were greenware.


I did find that rolling the clay into a "carrot" shape between your hands first starts a great coil. Before, I had them roll the clay into a ball, then roll into a coil and that just didn't make sense after a few tries. 


Dipping in Crystal Clear Glaze: 

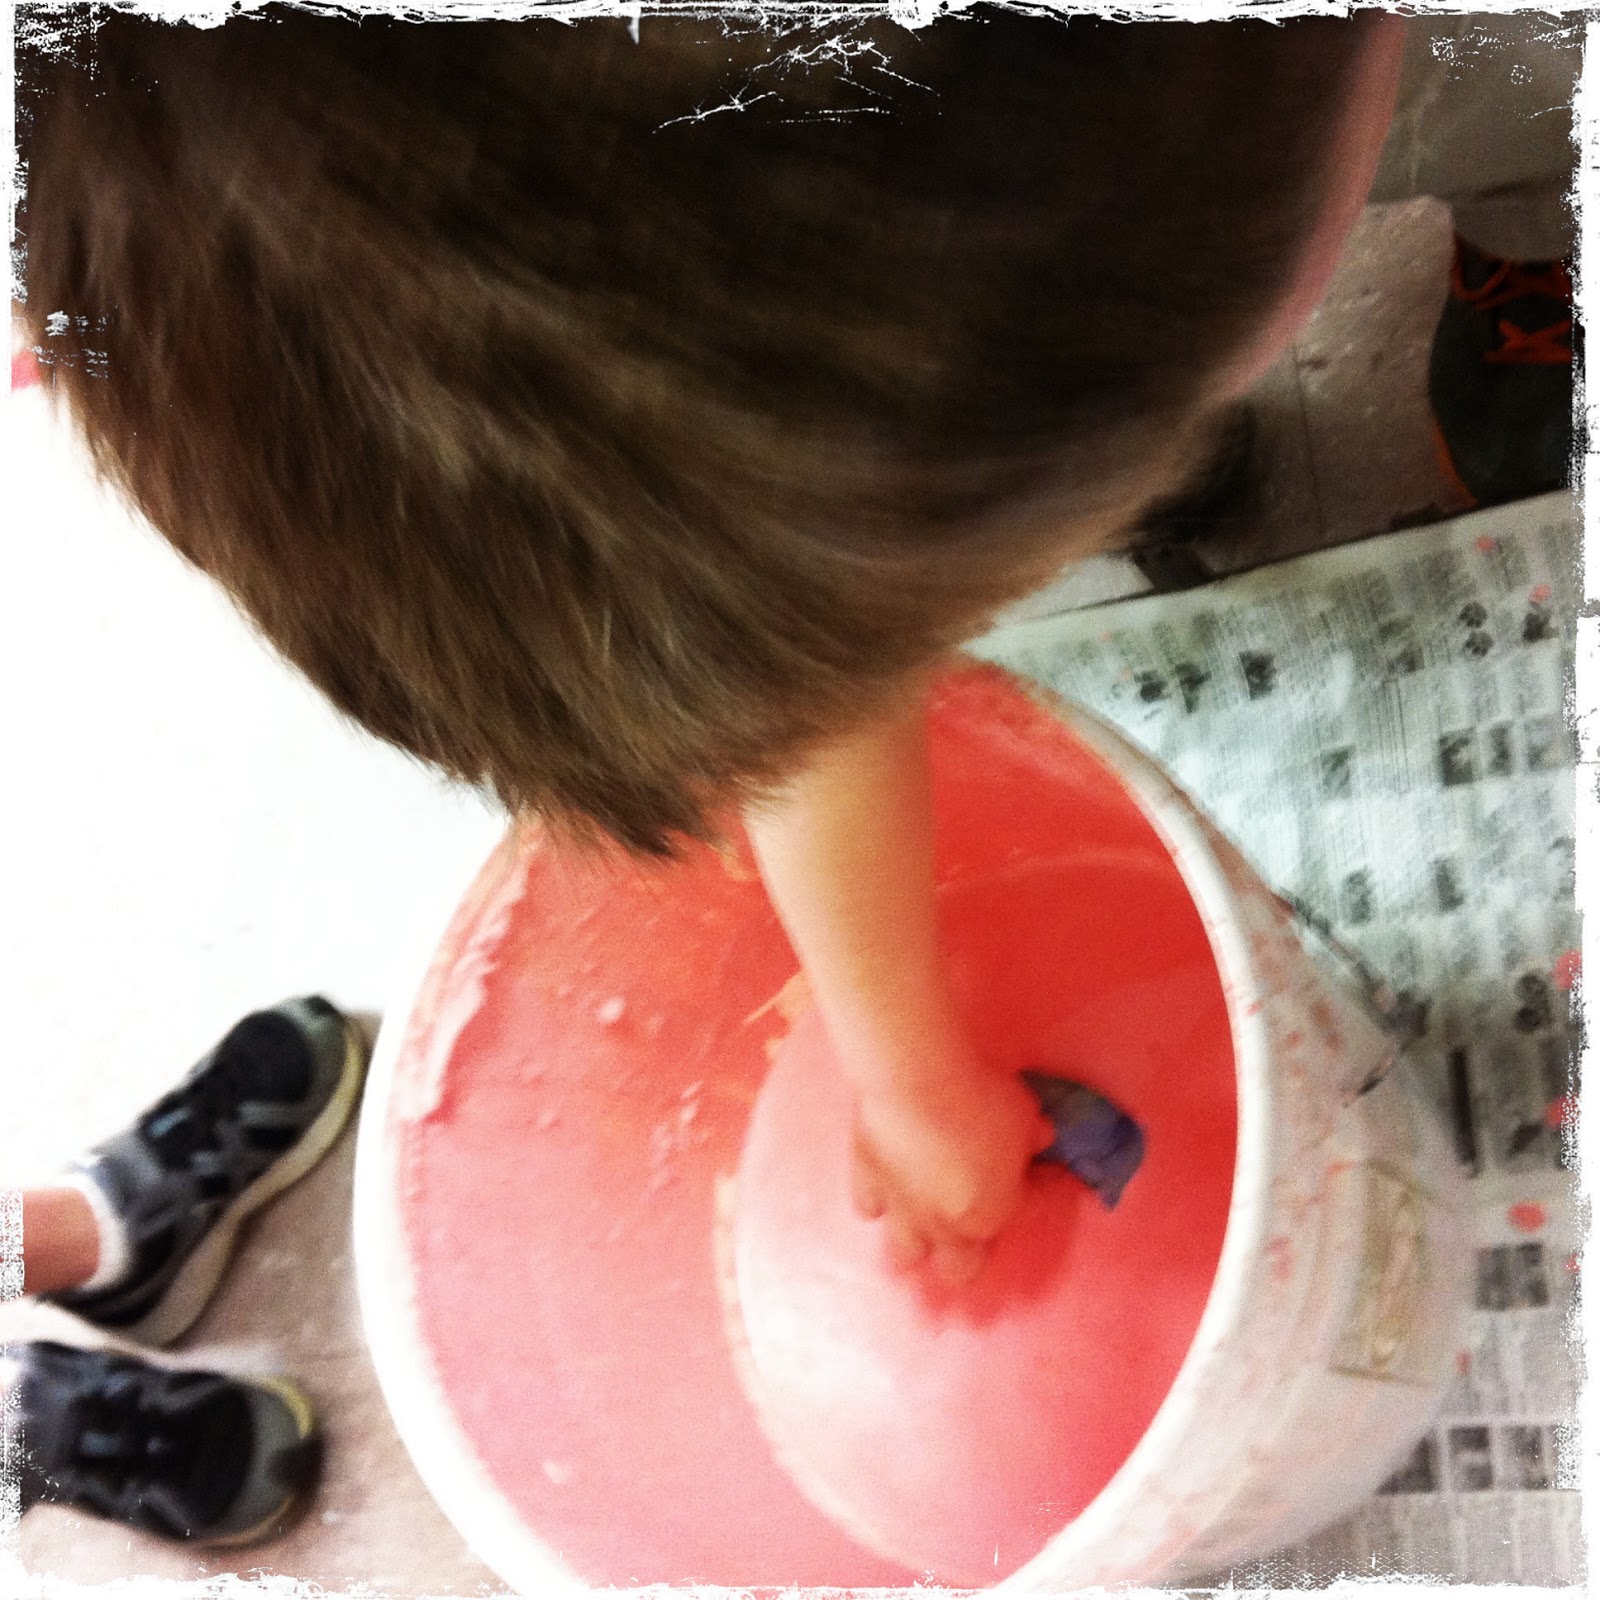
So, I pulled this huge bucket out today of crystal clear glaze....I usually dip the clay for the kids, but they were curious about it so I just let them get in there and dip their own! Great idea for me, cause it saves me a lot of time...and it's fun for them. Win-win. 


Here's some coil pots from the last class I taught this project to. Of course, they got the best lesson since I had 'mastered' it by then. 


Glazed Pots!