Each year our school has a Silent/Live Auction to raise funds for the school. I create an art project with each class to sell at the Silent Auction (yes each class...over 25 projects). I have started combining all of the 4th grade classes into one big project because it makes life a little easier.
I try to do something different each year and listen to the feedback of what people "love" so I can try to keep those parents and teachers wanting to buy what we create!
Since our auction is in November, I always start a month early...although I should be starting earlier than that! So October was "Artober with Kandinsky" this year in Nashville. We had a lovely Kandinsky exhibit at the Frist Center so we were encouraged to do Kandinsky projects.
Below is a link to the Frist Center webpage regarding the exhibit:
----------------------------------------------------------------
So here's the projects!
I taught the 3rd and 4th graders how to create Magazine Bowls. It's one of my favorite projects to teach and you could go as low as 2nd grade with it...but it really shines with the older kids because of their ability to make really tight roll-ups. We talked about "concentric circles" and looked at Kandinsky's painting while making these little sculptures. The kids made their own sculpture and one small one for the auction project. We called them "sushi rolls".
4th Grade Collaborative Magazine Collage
 |
| 4th Grade Collaborative Collage |
3rd Grade Magazine Sculptures
The third graders' project was a little weird, but fun! I had a hard time explaining that these were abstract sculptures...they stand on their own and look really cool in person. I just hot glued the "sushi rolls" together and spray painted a clear coat over them.


2nd Grade Tissue Paper Plates
The 2nd graders created concentric circles using tissue paper that I mod podged to the back of a clear glass plate found at Old Time Pottery for $1.49! If you're searching for a cheap class project, I highly recommend mod podge and glass. Sooooo easy.


Kindergarten Trees
Admittedly the auction becomes overwhelming and I lose my "let's make everything really complicated and awesome!" vibe and move into the panicky "oh crap let's get this done!" phase. Below are some hand-painted trees with concentric circle hearts created by Kindergarten. They printed different sizes of circles with black paint and then used watercolors. I had my future student teacher cut them into hearts and mod podge them to the trees.


1st Grade Vases
Here's another budget friendly project....coffee filters on vases. Mod podge is my best friend, can you tell? I purchased thrift store vases that were all approx. the same size. Never buy new vases or baskets!
The first graders drew concentric circles (you guessed it!) with sharpie on coffee filters, they colored in with washable markers and washed with water. I cut the circles out (once dry) and glued the overlapping due to space to the vases.


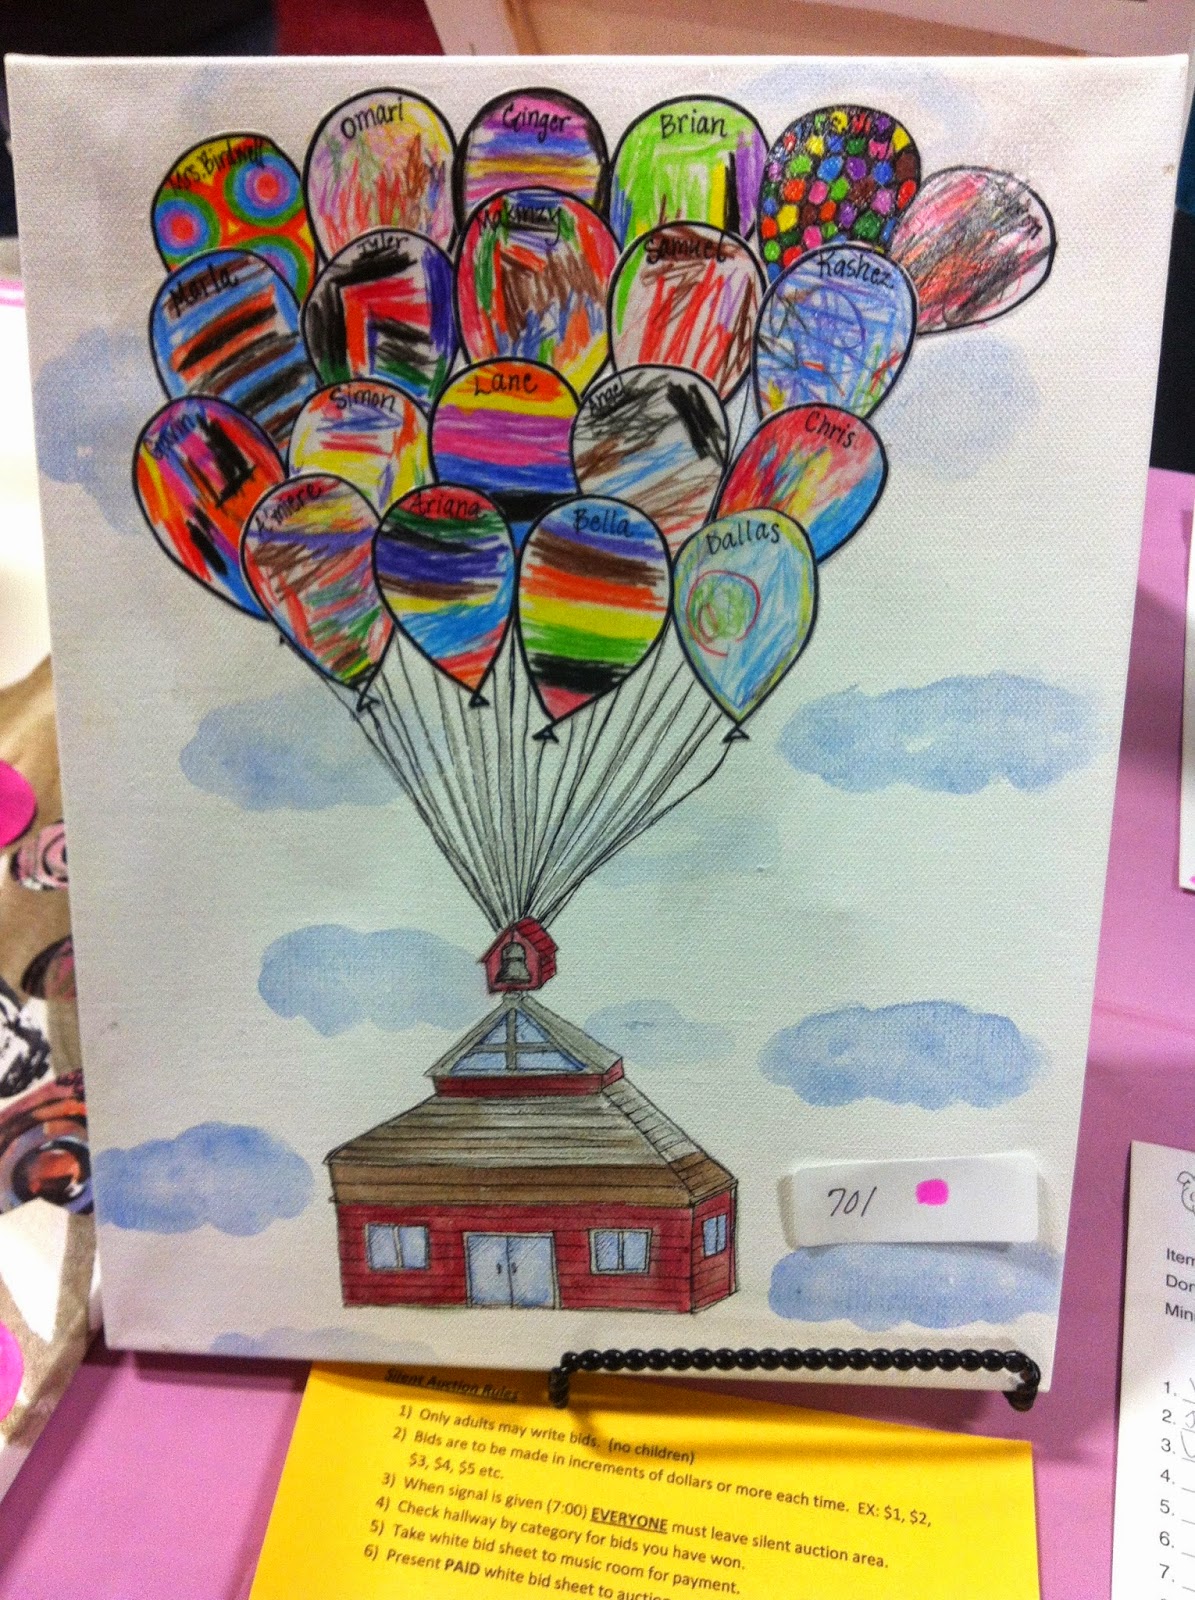
Pre-K Up Houses
I don't teach Pre-K but I help them create auction projects so they aren't left out of the auction fun. So this year we tried something different. I drew a bunch of balloon shapes and the kids colored them with colored pencils. Then their teachers cut them out and I mod podged them to a small canvas. Then I just drew a little house and strings...painted it and called it a day.