Thursday, November 21, 2013

Goal Wall for Art Room

 
Here's my required Goal Wall...I was resistant at first, but it has turned out to be a good thing to have. The kids can use a piece of free draw when they finish a project to draw the "art goal". This past month I've had the question : Can you draw a realistic face?
 
I have about 25 clothespins on a string that I simply clip the artwork to. The kids submit their art and at the end of the day I look through it and hang it up if they accomplished each goal.
 
Once we fill up all the clothespins, I will change the goal.
 
The objectives poster is a piece of laminated poster paper that I wrote on with dry-erase marker, that way I can easily change out the goal without making a whole new poster.
 
 
Here's some of my realistic faces that made it on the Goal Wall.
 
2nd Grade

1st Grade
 

3rd Grade


One Day Projects for Thanksgiving

 
"Mayflower Collage"
1st Grade
Draw water with blue oil pastels.
 
Add background information.

Draw a boat on brown paper and cut out.


Cut white sails and glue to paper.

(Draw two lines coming up from boat for sails.)


--------------------------------------------------------------------------------------------------------------------------

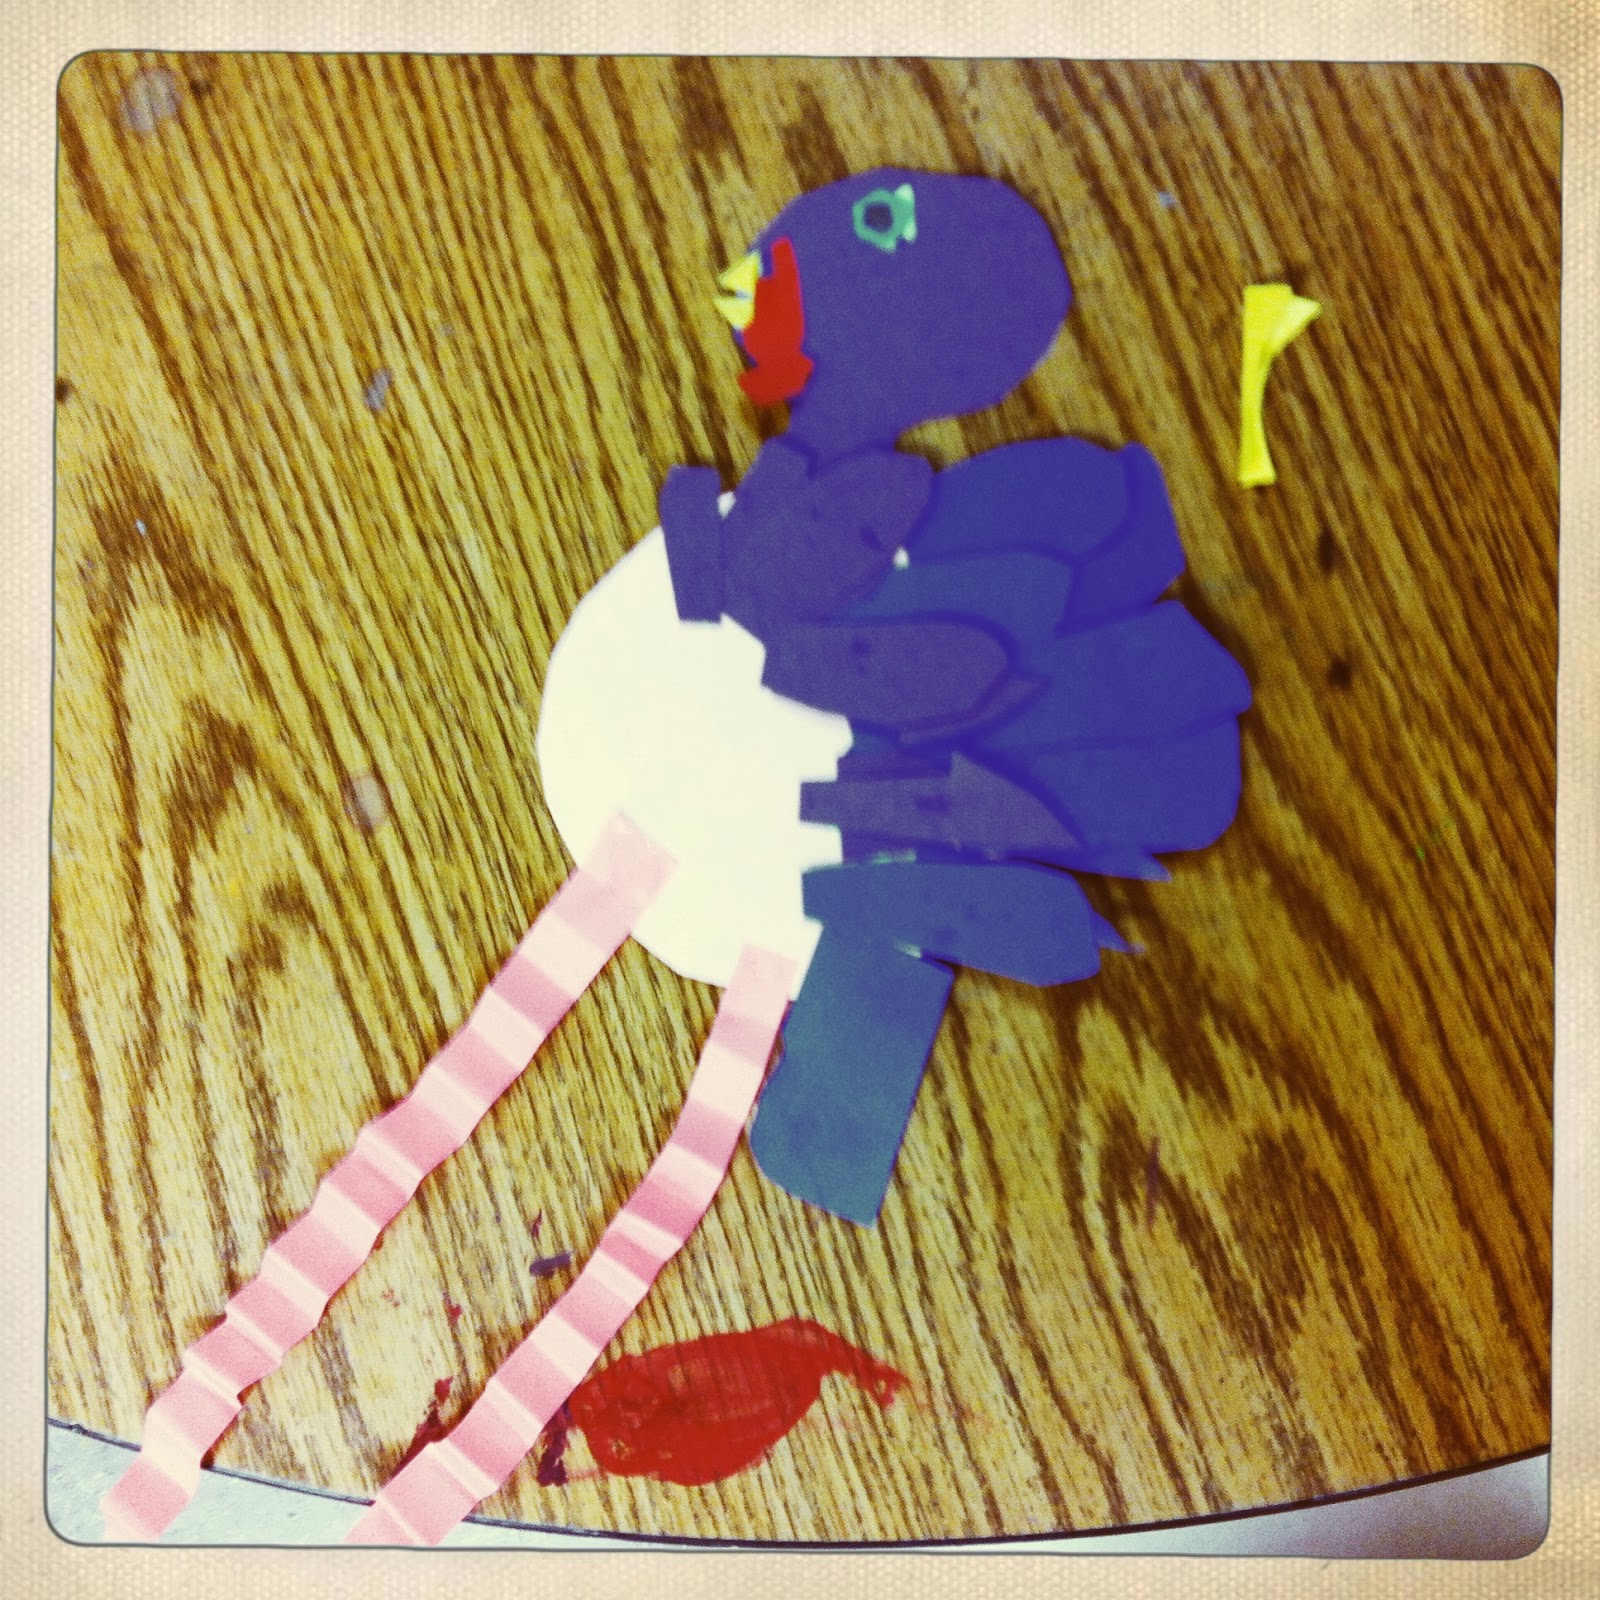
"Crazy Turkey Collage"
2nd Grade


Trace a circle and cut out for turkey's belly.
Cut out a head with a neck (bowling pin shape) and glue behind circle.


Cut a triangle for the beak.

Add eyes and wattle.

Use long strips of paper to make accordion fold legs.

Cut paper for wings and feathers.


2nd and 3rd grade
-------------------------------------------------------------------------------------------------------
 
 
"The Mayflower in a Bottle" Drawing
4th Grade


(this could be a one day lesson if you color with crayons...we plan on painting them with watercolors next class.)
 

Saturday, November 16, 2013

Pop Art Popsicles with Kindergarten

So, I never use popsicle sticks, but I finally found a project that allows me to use them that isn't rinky-dink!

Day One: We learned how to mix primary colors together to make secondary colors...
I had them fold their paper in half a couple of times to make 8 boxes. They painted the primary colors first, then we mixed them together to fill the other boxes. They had 2 extra boxes they could paint a color or pattern of their choice in.


Here's a modification I made for one our students with special needs.


Day Two: Making Popsicles!
 
I started by telling the kids we were going to cut up our paintings from last week....the sheer looks of terror I got....

We drew a simple "U" shaped popsicle in each box. Some of my art challenges were to draw one with a bite taken out, one that was melting...etc.


We added shadows to each popsicle and a little white highlight. I think they understood what we were doing....haha. I explained that popsicles are frozen and ice is shiny, so to show that texture we needed a little reflection of light. Maybe that stuck with some of them...who knows, but they did it and their popsicles look awesome!


Thiebaud Gumball Machines

To continue our Pop Art unit, the 3rd graders are creating Wayne Thiebaud inspired Gumball Machines.

Day One: Drawing and Painting the Machine

We looked at Thiebaud's paintings of gumball machines and sketched one in our books.
I let them use butter lids to trace the circle, and we drew the rest of the machine referencing Thiebaud's.

I have this awesome red latex paint that's high gloss, which looks really good for a gumball machine.


More photos coming soon!

Thursday, November 7, 2013

Collaborative Cityscape Collage by 2nd Grade- Auction Project

I had each kid make a building for the auction project. I arranged them to build a cityscape inside frames I found at the thrift store. I spray painted the frames black to unify them.