Sunday, September 18, 2011

Kindergarten Painting Shapes

Using oil pastels again, the kinders made a variety of shapes on day one. We read the story "When a Line Bends, A Shape Begins"...cute story! Anyway, the next day we filled each shape with a different pattern. This was a great opportunity to review different kinds of lines: vertical, horizontal, zig-zag...etc. I also stole an idea from a blogger art teacher about using your arms to teach vertical, horizontal and diagonal...the kids loved it! We were "yoga birds" practicing our different kinds of lines.

Soooo, the next day we painted inside our shapes with contrasting colors using tempera cakes. The oil-pastel resist was the 'magic trick' of the day! Here's some paintings in progress...I'll have to take some more pictures tomorrow of the finished product.

we talked about 'blotting' the big puddles

keeping the colors 'clean'


the next step is painting the background!
Enjoy!

Classroom Organization


Just thought I'd share some of my classroom tools...maybe I could be doing things an easier way? Oh well...
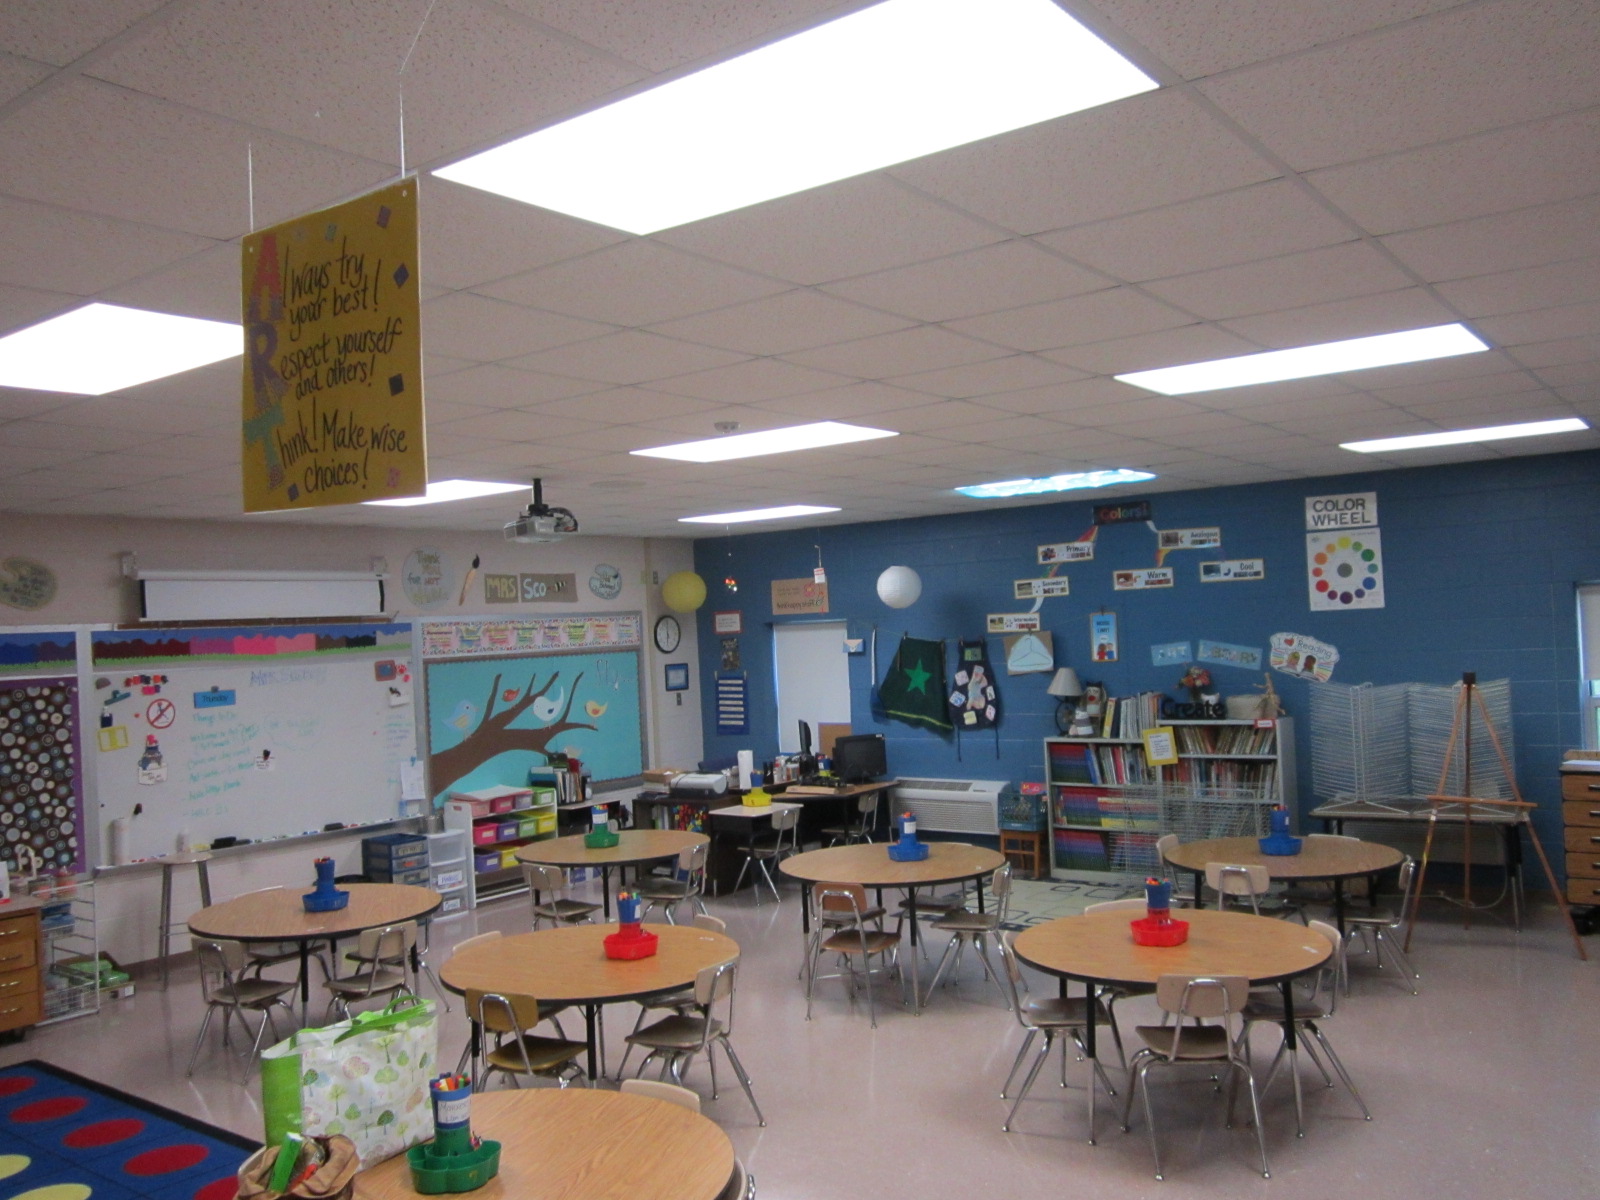
View of the room from the door
Each table is a famous artist; Table 1 -Vincent van Gogh, Table 2- Claude Monet, etc...
Here's my "Idea Book Boxes"...each class has a plastic box with their Idea Book and name tag (for their table - also helpful for subs) I haven't attempted Idea Books for kindergarten yet...
For smaller 2-D work, I've been using this clear plastic bin with posterboard dividers with the teacher's name...way easier for me to sift through than those pull out drawers!


I'll post more later!

Tuesday, September 13, 2011

Kindergarten Paints Lines with Kandinsky!

      Well, my kinders are following directions well so far this year! I've also learned how to let go of some expectations, and just let the art happen...because it's going to, no matter how much I try to control it!


      I've been cramming tons of vocab into these little sponges and here's a list of what I'm pretty sure they KNOW:
Line
horizontal, vertical, diagonal, zig-zag, spiral, wavy, free form
Shape
circle, square, rectangle, triangle, oval, octagon, star, crescent
Pattern
Variety (ooh la la)
Contrast (yes, i know...)
Watercolor/ Paintbrush/ Water cup/ Painting
KANDINSKY!

and....

ABSTRACT ART
  {   Like I said, I've been cramming these words everyday and they are saying them, so I'm assuming they know what they mean at this point.  :o) }
Here they are painting using watercolors...

painting contrasting colors over oil pastels...using a variety of colors
{oil pastel resist}


     Here's some of their finished line paintings and I'll add some of the shapes with patterns soon! They are getting painted this week!


Zander

Gracie-Mae

Angela


Sunday, September 11, 2011

2nd Grade Self-Portrait: "A Bad Case of Stripes"

1st Nine Weeks Self Portrait Project for 2nd Grade:

We read the online story "A Bad Case of Stripes" from http://www.storylineonline.net/, which is an amazing resource! They drew a realistic self-portrait through teacher-directed drawing and then outlined their pencil lines with black off-brand Sharpie! Yes, the dollar tree sells permanent black markers 4 for $1...and so far they are working well....but they strongly smell like bananas. Anyway, next step is to create a pattern inside the face with pencil, then fill in all the white space with different colors using markers/crayons.

Here are the different stages of the project:

Outlining Pencil Drawing


Pattern in pencil


I just love Mr.Wilson's 2nd Grade Class so they got to do something special to their faces because they're just so wonderful! We cut out our heads and glued them a piece of tye-dyed construction paper. Some chose colors that related to their pattern in their self-portrait, and others wanted to show a strong contrast in color and design. They made me so proud.


Tuesday, August 30, 2011

Bleach Pen Art (Reverse Batik)


I'm loving this new technique. It's amazing and I can't wait to use it! I've been experimenting at home and so far I've tried black cotton fabric and purple canvas. The longer you leave the bleach on, obviously the lighter it gets.

Draw the image with bleach pen *(resembles puff paint)

let it sit for at least 5-10 minutes...you can see it bleaching

The simpler the better!

Rinse bleach out WELL and wash with soap

This turned into a natural brown....leaving it on longer would make it lighter

here's my apron (planning on adding more!)

here's a stencil sticker that turned out a little fuzzy

Monday, August 22, 2011

A Rainbow of Faces

Monochromatic Self-Portraits!

For our first project, I've decided to test the waters and do a pre-assessment project with a self-portrait drawing. Each student 1st - 4th grade is 'showing me what they know' by drawing their self-portrait. This has been a great first mini-project for sprucing up the empty hallways...especially for open house tomorrow night!

Basically, they draw in pencil first, choose ONE color for their face, outline with a marker and then fill in the white space with a crayon. We discussed how different values can be achieved with the crayons using soft or hard pressure for lights and darks. And, for most classes we've learned what 'monochromatic' means.


Enjoy our Rainbow of Faces!

Friday, August 12, 2011

Art Room Rules/Consequences/Rewards

Art Room Rules

1. Listen and follow directions.
2. Keep your hands, feet and objects to yourself.
3. Use art supplies appropriately.
4. Always try your best!

---------Discipline Plan---------

Strike One: Verbal Warning
The student will be reminded of the rule they are breaking.
Strike Two: Time Out/Think Sheet
The student will sit in an isolated area and write about behavior or copy the art room rules. 
Strike Three: Note Home / Office
Depending on the severity of the situation, the student will receive a sad face art note explaining the behavior and/or go directly to the principal's office.

Rewards!

~Verbal Praise~
~Using Special Materials/Resources~
~Free Draw Paper~
~Happy Notes Homes~