Showing posts with label painted clay. Show all posts

Saturday, May 16, 2015

Clay Necklaces: Medallions and Beads

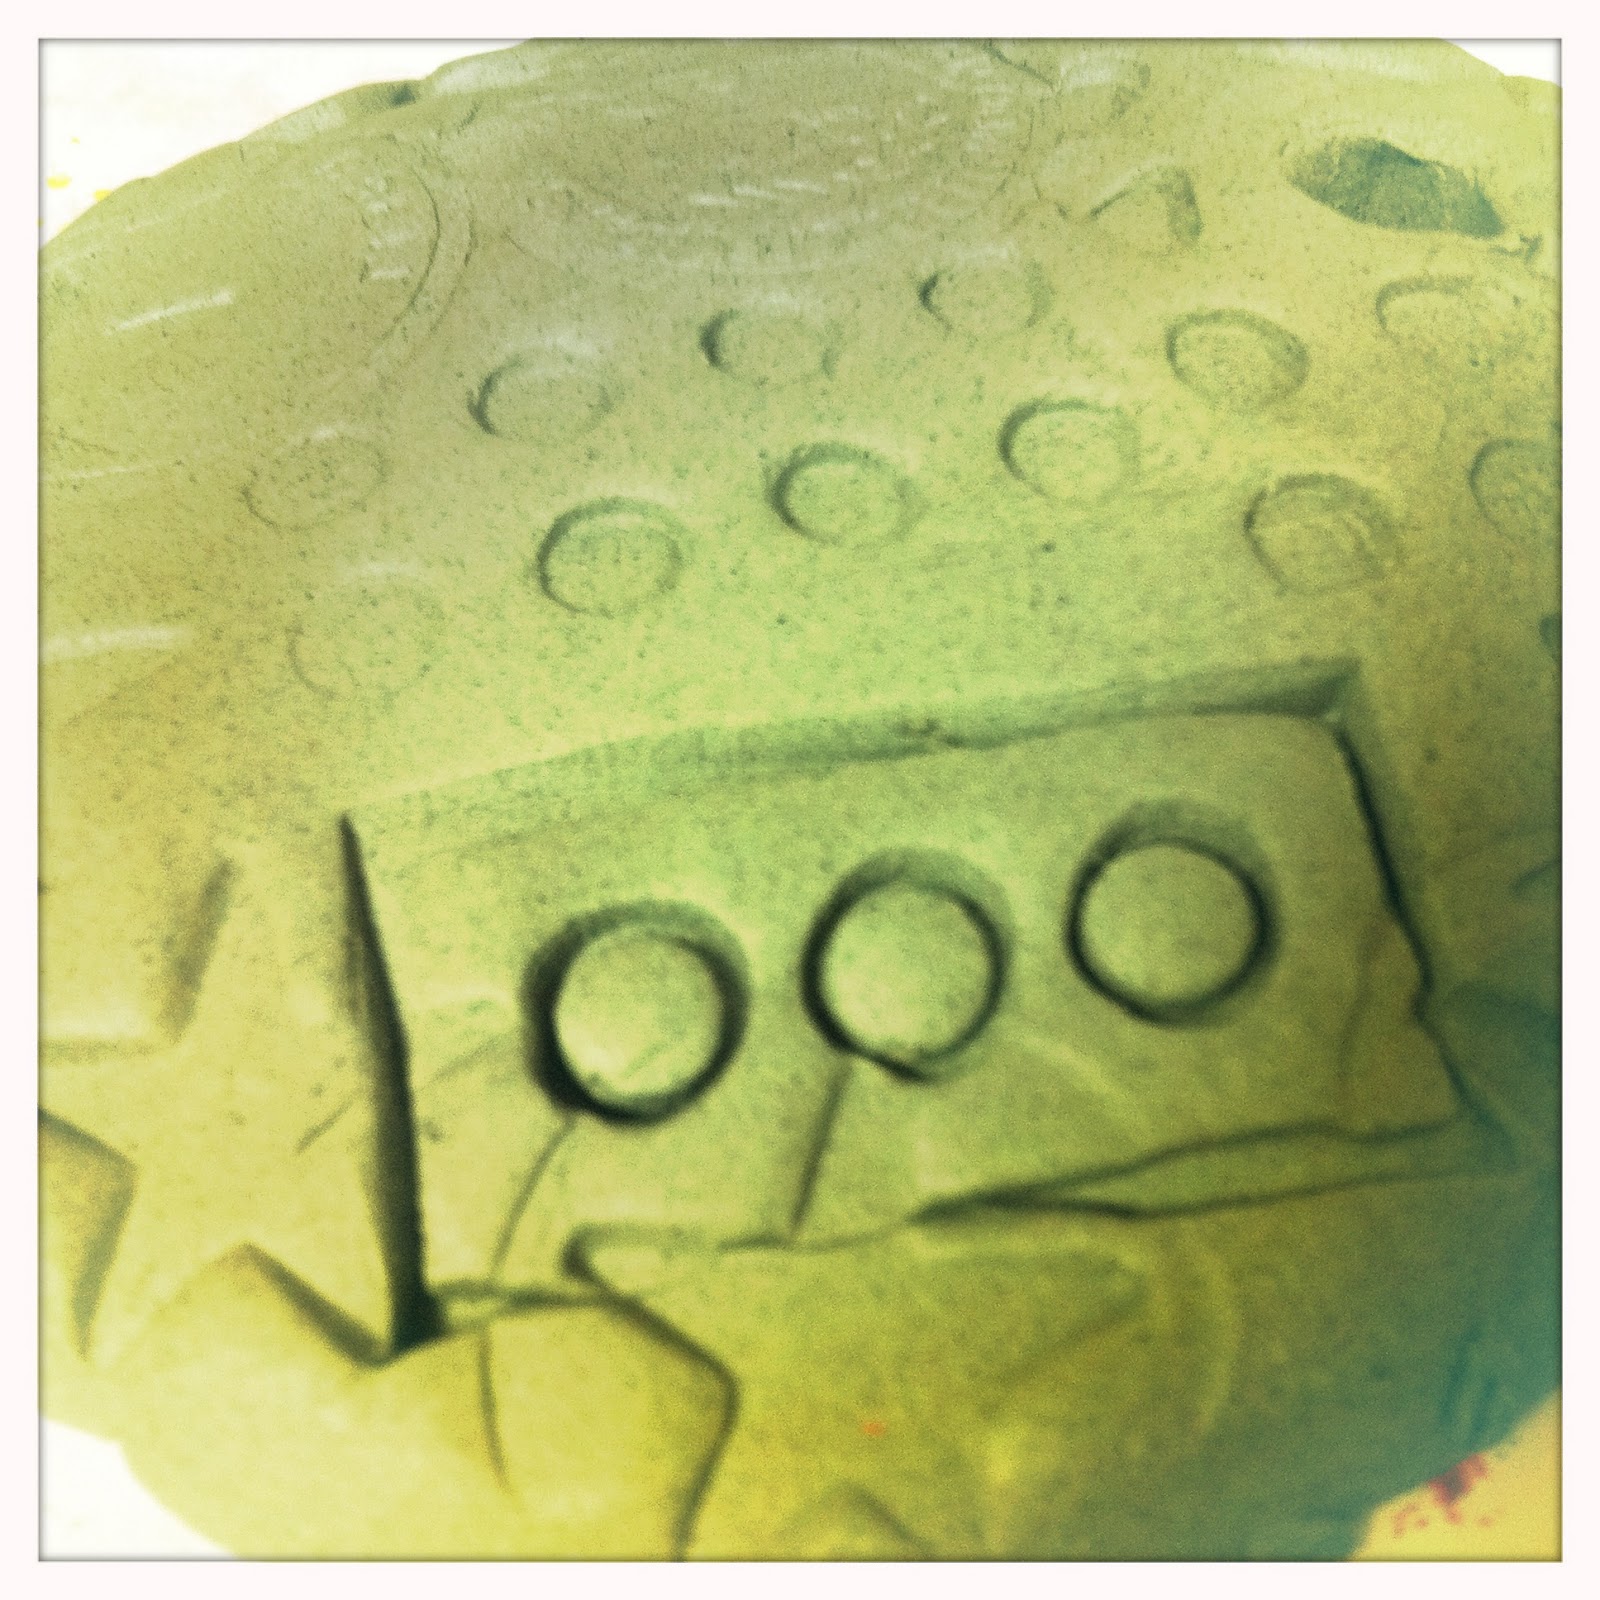
Each year with Kindergarten we create these clay necklaces. Day one is all about making the medallion and the beads. You can see a student sliding the beads onto a kabob skewer. We use found objects to create textures in the big medallion. This is a step-by-step guided process. 


Once the beads have been fired in the kiln, the kids get to paint them with tempera paint. The super special surprise being that once they have painted all the white space on their beads, they get to rub gold paint on the surface. Messy day in art! But oh so fun. 


The gold paint takes these beads to whole new level. 


Day Three: We assemble our necklaces after a discussion on symmetry. I demonstrate how to lay out the beads and plan a design that's symmetrical. Below are my models. 


I tie the necklaces together for the students in a special way to ensure they don't fall off and beads don't scatter as they are walking down the hallway. We use "twisteez" wire for these and they're perfect! I love twisteez. I also lay out trays of plastic beads that they can use for 'spacers'. 


Once they finish their necklace, we work on a book page for the Art Book about butterflies and symmetry. In the photo above, you can see hints of that book page. The kids draw a "symmetrical" butterfly, outline in black marker and color with crayons. It's a great thing for early finishers to work on that's on topic and also goes in the art book! Double whammy!

Sunday, April 21, 2013

Kindergarten Pendants and Clay Beads

This is a great Kindergarten level clay project...each kid is guaranteed good results!

My only advice is to take the first day slow and in very simple steps. Some kids gets it right away and others take more time...but eventually they'll all have something that's fun.

We start with a large chunk of clay and basically divide that chunk in half.  Leave one chunk alone and roll the other chunk into a ball.

The ball will become the pendant...squish it flat like an oreo and press toys/textures into it. The teacher will write their names on the back of the pendant and poke the hole in the top.

The other chunk of clay will become the beads. I show them how to divide it in half, they echo that step. Then they will divide the two chunks into two more pieces...so basically they'll have 4 chunks of clay. I then show them how to roll those pieces into balls, which will become the beads. They push them onto kabob sticks (carefully!) and they can draw on them with pencils or push more textures into them.

Once they're done they bring their plates to me and they clean up.


Carefully pushing them onto kabobs...I try to get them to get the bead "centered" on the stick so it doesn't fall off. 


I also showed them how to make 'square' beads by pressing them on their clay boards to flatten the edges. 


Here's how I load them into the kiln ...I place the pendant down first, then stack the beads on top. I separate the classes with these long stilts. 


More pictures coming soon of painting the beads and assembling the necklaces.


Day Two: Painting the beads....doing the 'metallic' treatment.

and

Day Three:  Assembling the Necklace...and wearing it home!