I've been teaching this lesson for the last couple of years and I keep changing it. This year I really focused on getting the kids to 'draw' the actual still-life, instead of letting them invent a still-life by tracing circles. I think drilling this early is going to make a big difference...
Day One:
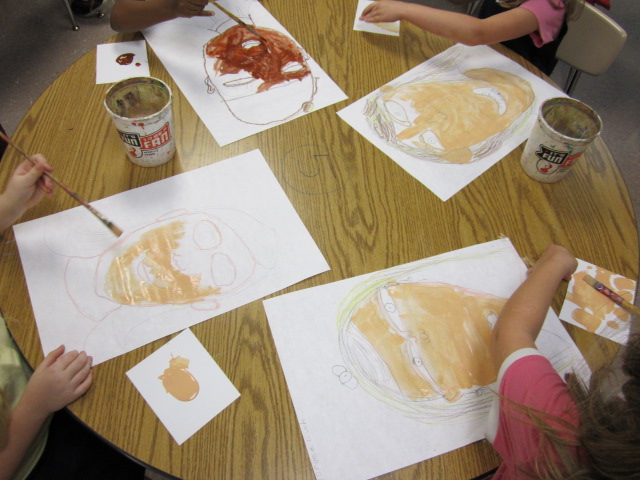
We define "still-life" in our idea books. They draw a still-life on their own (pre-assessment) then I draw it with them. We compare our drawings and see who was using their "artist eyes" to really observe the objects.
Then I let them trace a plate to get a big circle...and then they draw the fruit and paint with warm colors.
Day Two:
We write about contrasting colors in our idea books then draw two columns...one side warm colors and the other cool colors. Then we draw a pattern for our "table" on our painting from day one. They get to paint with cool colors to show contrast. I like to talk about how "water is your friend" when you are painting....as a result, they create some value without really knowing it. So they're paintings have a little more depth. I have also started letting them use the smaller, nicer brushes...so those little brushstrokes look really nice.
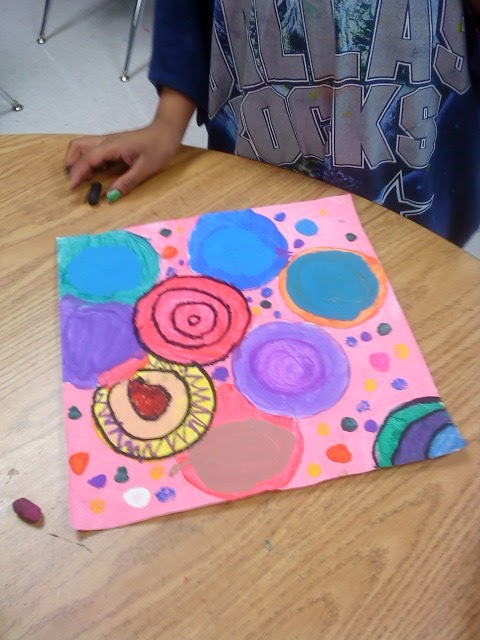
Here is a really nice painting...not a still life at all...but hey, if the art teacher can't appreciate a good painting, then why are we here?
Day Three: Adding shadows and highlights.
I got the oil pastels out to bring some "definition" to these paintings...cause I guess I can't live without line. We added some extra pizazz/patterns/designs. Then I demonstrated how to do an "easy shadow" and a quick highlight...we outlined in black to bring some more boldness to our paintings.
Overall...some of my favorite still-lifes yet.