This is a great Kindergarten level clay project...each kid is guaranteed good results!
My only advice is to take the first day slow and in very simple steps. Some kids gets it right away and others take more time...but eventually they'll all have something that's fun.
We start with a large chunk of clay and basically divide that chunk in half. Leave one chunk alone and roll the other chunk into a ball.
The ball will become the pendant...squish it flat like an oreo and press toys/textures into it. The teacher will write their names on the back of the pendant and poke the hole in the top.
The other chunk of clay will become the beads. I show them how to divide it in half, they echo that step. Then they will divide the two chunks into two more pieces...so basically they'll have 4 chunks of clay. I then show them how to roll those pieces into balls, which will become the beads. They push them onto kabob sticks (carefully!) and they can draw on them with pencils or push more textures into them.
Once they're done they bring their plates to me and they clean up.
Carefully pushing them onto kabobs...I try to get them to get the bead "centered" on the stick so it doesn't fall off.
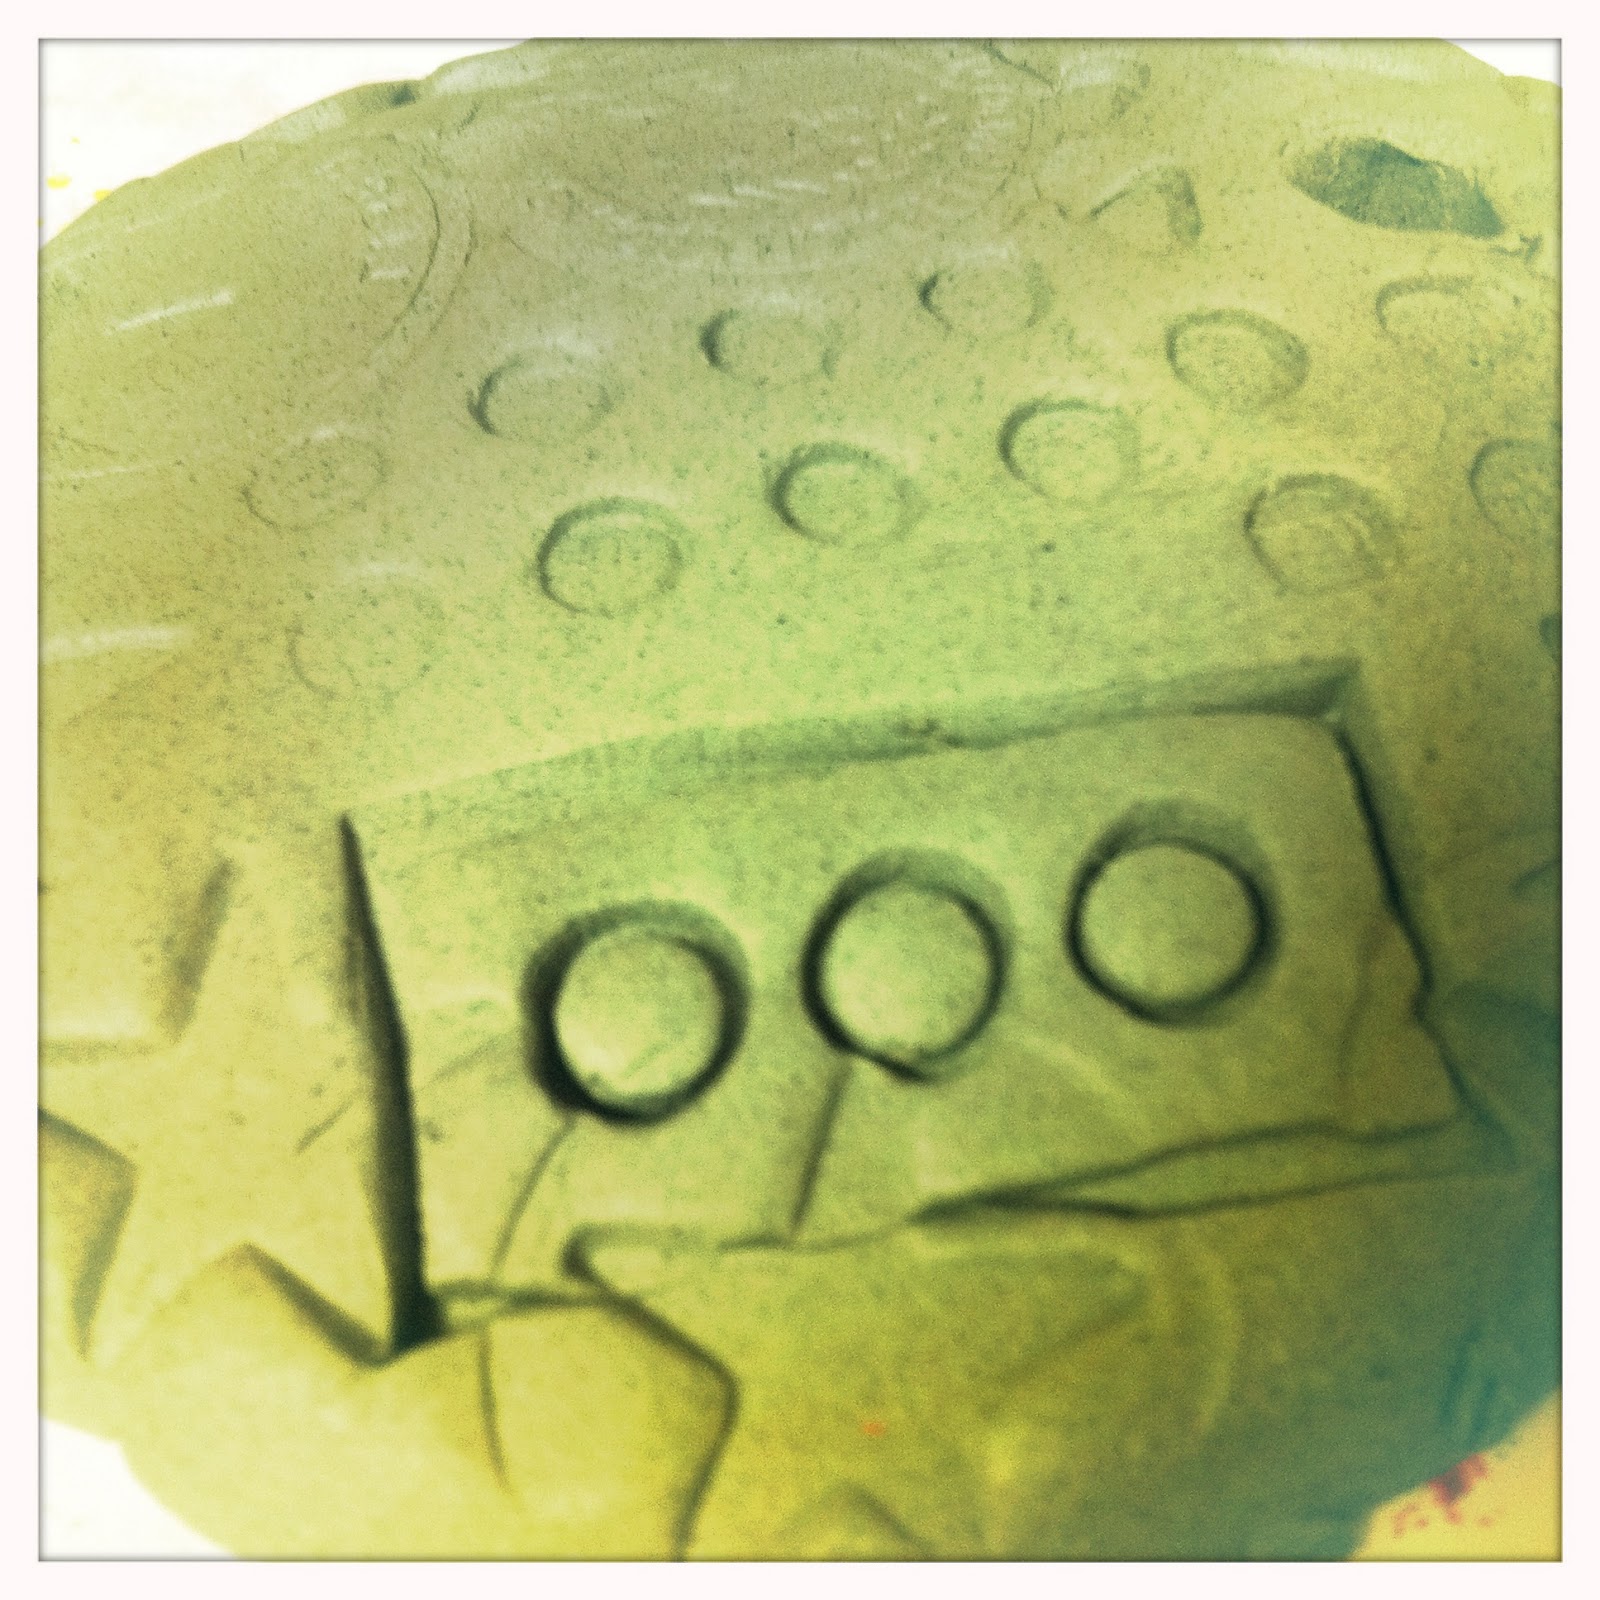
I also showed them how to make 'square' beads by pressing them on their clay boards to flatten the edges.
Here's how I load them into the kiln ...I place the pendant down first, then stack the beads on top. I separate the classes with these long stilts.
More pictures coming soon of painting the beads and assembling the necklaces.
Day Two: Painting the beads....doing the 'metallic' treatment.
and
Day Three: Assembling the Necklace...and wearing it home!